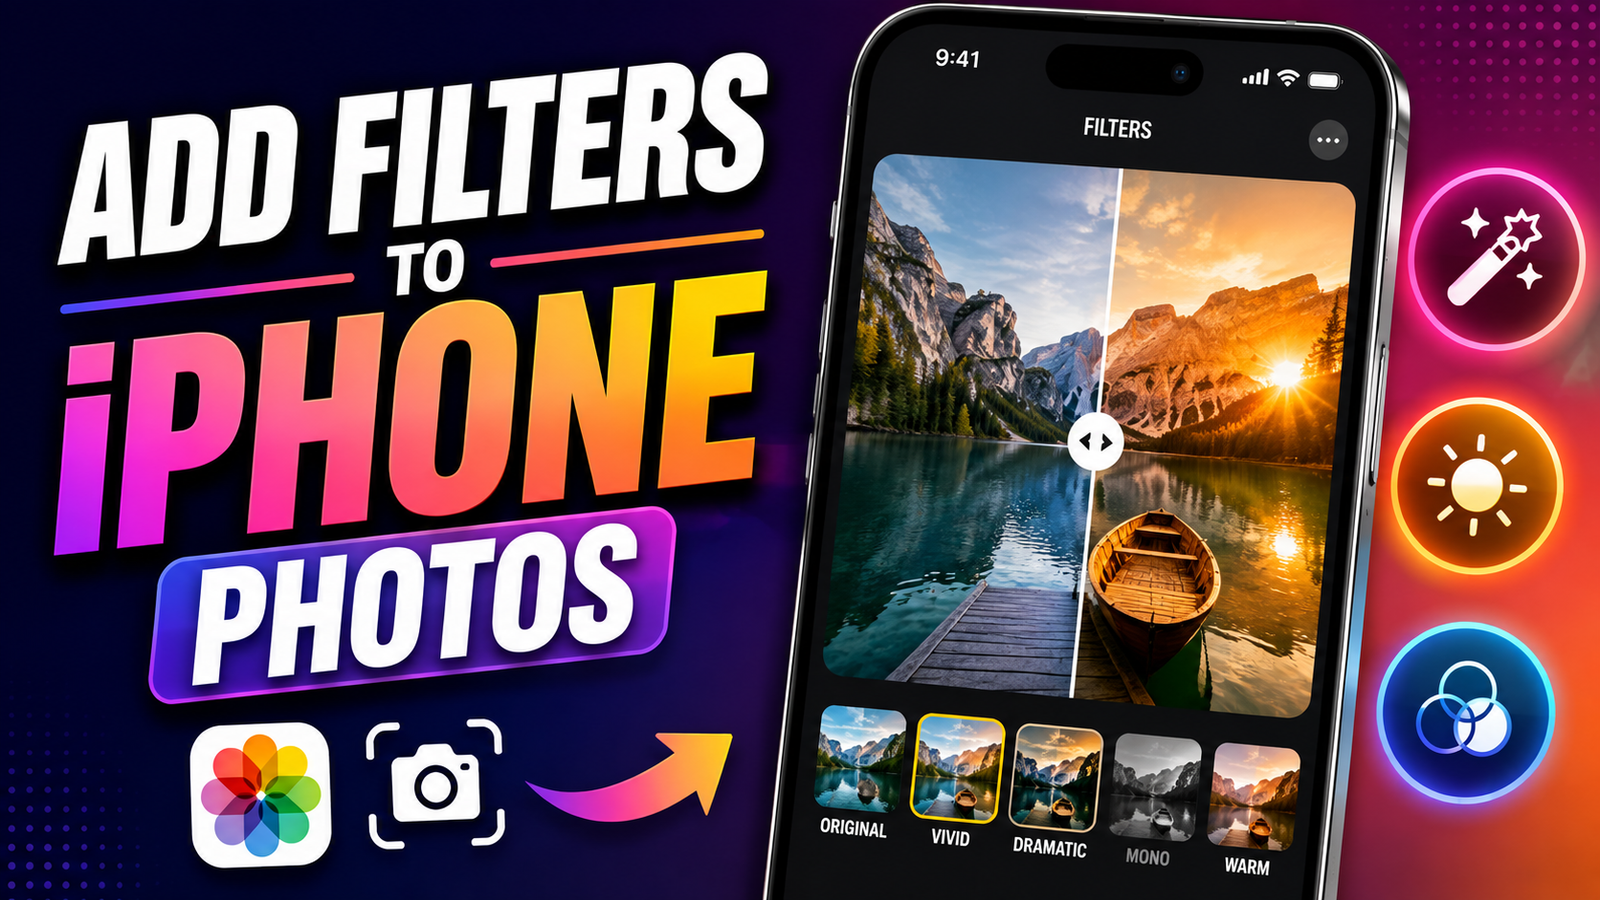
You don’t need advanced editing skills to make your iPhone photos look better. The built-in Photos app already includes several editing tools and filters that can change the mood, color, and overall appearance of an image in just a few taps.
Whether you want brighter colors, stronger contrast, or a classic black-and-white style, you can experiment with different looks without installing another app. For more advanced effects, the App Store also offers powerful photo editors with additional filters and presets.
In this guide, we’ll explain how to apply filters to iPhone photos, edit existing pictures, remove filters, and get better results without over-editing your images.
Also read: How to Create and Share a Wi-Fi QR Code on Android and iPhone
Why Add a Filter to an iPhone Photo?
Filters are an easy way to change the appearance of a picture without manually adjusting every editing control.
Depending on the filter you choose, you can make an image look:
- Brighter and more colorful
- Darker and more dramatic
- Warmer or cooler
- Softer and more subtle
- Black and white
For example, a vibrant filter can work well for travel and outdoor photos, while a monochrome effect may suit portraits or architecture.
However, filters are not always necessary. If a photo already has good lighting and natural colors, a small adjustment may be enough.
How to Add a Filter to an Existing Photo
The easiest way to apply a filter is through the built-in Photos app.
Follow these steps:
- Open the Photos app on your iPhone.
- Select the picture you want to edit.
- Tap Edit.
- Look for the Filters option.
- Swipe through the available filters.
- Preview each effect on your photo.
- Choose the filter you prefer.
- Adjust the intensity if the available controls on your iPhone allow it.
- Tap Done to save the edit.
The edited version will appear in your photo library while the original can still be recovered later.
Try Different Filter Styles
Different filters can create completely different moods. Instead of automatically choosing the strongest effect, compare several options before deciding.
Vivid
A vivid-style filter can make colors appear stronger and give an image a more energetic appearance. It can work particularly well with landscapes, food, and colorful outdoor scenes.
Dramatic
A dramatic look generally emphasizes contrast and creates a stronger visual effect. It can be useful for architecture, street photography, and images with interesting shadows.
Mono
A monochrome filter removes color and produces a black-and-white appearance. It can give portraits, buildings, and certain artistic photographs a classic look.
The best option depends on the lighting, subject, and style of the original image.
Can You Remove a Filter After Saving?
Yes. One useful feature of Apple’s photo editing system is that edits can generally be changed or reversed later.
If you decide that you no longer want the filter:
- Open the edited image in Photos.
- Tap Edit.
- Select Revert.
- Confirm that you want to return to the original.
Your original image can therefore be restored instead of permanently losing the unedited version.
What If You Don’t Like the Changes?
You don’t have to keep an edit simply because you started making changes.
If you’re still inside the editing screen and haven’t saved your changes, use the available cancel option to leave the editor without keeping the new adjustments.
This makes it easy to experiment with different filters without worrying about permanently changing the original photo.
Combine Filters With Manual Adjustments
A filter doesn’t always need to be the final step. You can combine a filter with small manual adjustments to create a more balanced result.
Depending on your iPhone and software version, the Photos editor provides controls for areas such as:
- Exposure
- Brilliance
- Highlights
- Shadows
- Contrast
- Brightness
- Saturation
- Warmth
- Sharpness
For example, if a filter makes your image too dark, a small brightness or exposure adjustment may improve the result.
The important thing is not to push every slider too far. Subtle changes often look more natural.
Use Third-Party Apps for More Filters
Apple’s built-in editing tools are convenient, but they may not provide enough creative control for everyone.
If you want more presets, effects, or advanced color adjustments, you can explore photo editing apps such as:
- VSCO
- Snapseed
- Adobe Lightroom
- Prisma
- Afterlight
These apps can provide additional filters and features such as detailed color adjustments, selective editing, artistic effects, and custom presets.
Before installing an editing app, check its current App Store listing, supported iOS versions, pricing, and privacy information.
Choose Filters Based on the Type of Photo
There isn’t one filter that works perfectly for every picture. Consider the subject and lighting before choosing an effect.
For Portraits
Use softer and more natural-looking adjustments. Extremely strong filters can change skin tones and make the image appear less realistic.
For Food Photos
A slightly warmer or more vibrant look can help food appear more appealing, but avoid excessive saturation.
For Travel Photos
Colorful landscapes may benefit from a subtle vibrant effect that enhances the sky, greenery, or surrounding scenery.
For Black-and-White Photography
A monochrome filter can work particularly well when the photograph already has strong lighting, shadows, or interesting shapes.
Don’t Overuse Photo Filters
One of the most common editing mistakes is applying an effect too strongly. An image may look impressive at first but unnatural after excessive editing.
For better results:
- Compare the edited image with the original.
- Keep skin tones natural.
- Avoid excessive saturation.
- Don’t make shadows completely black.
- Use stronger effects only when they suit the photo.
A good filter should enhance the image rather than completely change what the scene looked like.
What About RAW and ProRAW Photos?
Users with supported iPhone Pro models may also have access to Apple ProRAW, which provides additional flexibility when editing photographs.
RAW-based images can be useful for photographers who want greater control over exposure, color, highlights, and shadows during post-processing.
For everyday social media photos, however, you usually don’t need RAW. Standard iPhone photos are already capable of producing excellent results with simple edits and filters.
Keep Your Editing Style Consistent
If you regularly upload pictures to Instagram or another social platform, using a similar editing style can make your content look more consistent.
For example, you could use:
- Similar brightness levels
- A consistent color temperature
- Subtle filters
- Similar contrast settings
Consistency is often more important than using a dramatic filter on every photo.
Final Thoughts
Adding filters to iPhone photos is a quick way to give your pictures a different appearance without needing complicated editing software. The built-in Photos app lets you experiment with filters and other adjustments, while third-party apps can provide additional creative options.
The best approach is to start with a subtle effect and compare it with the original image. If the photo already looks good, you may only need a small adjustment rather than a heavy filter.
Whether you’re editing portraits, travel pictures, food photography, or everyday snapshots, thoughtful editing can make your iPhone photos look more polished while keeping them natural.