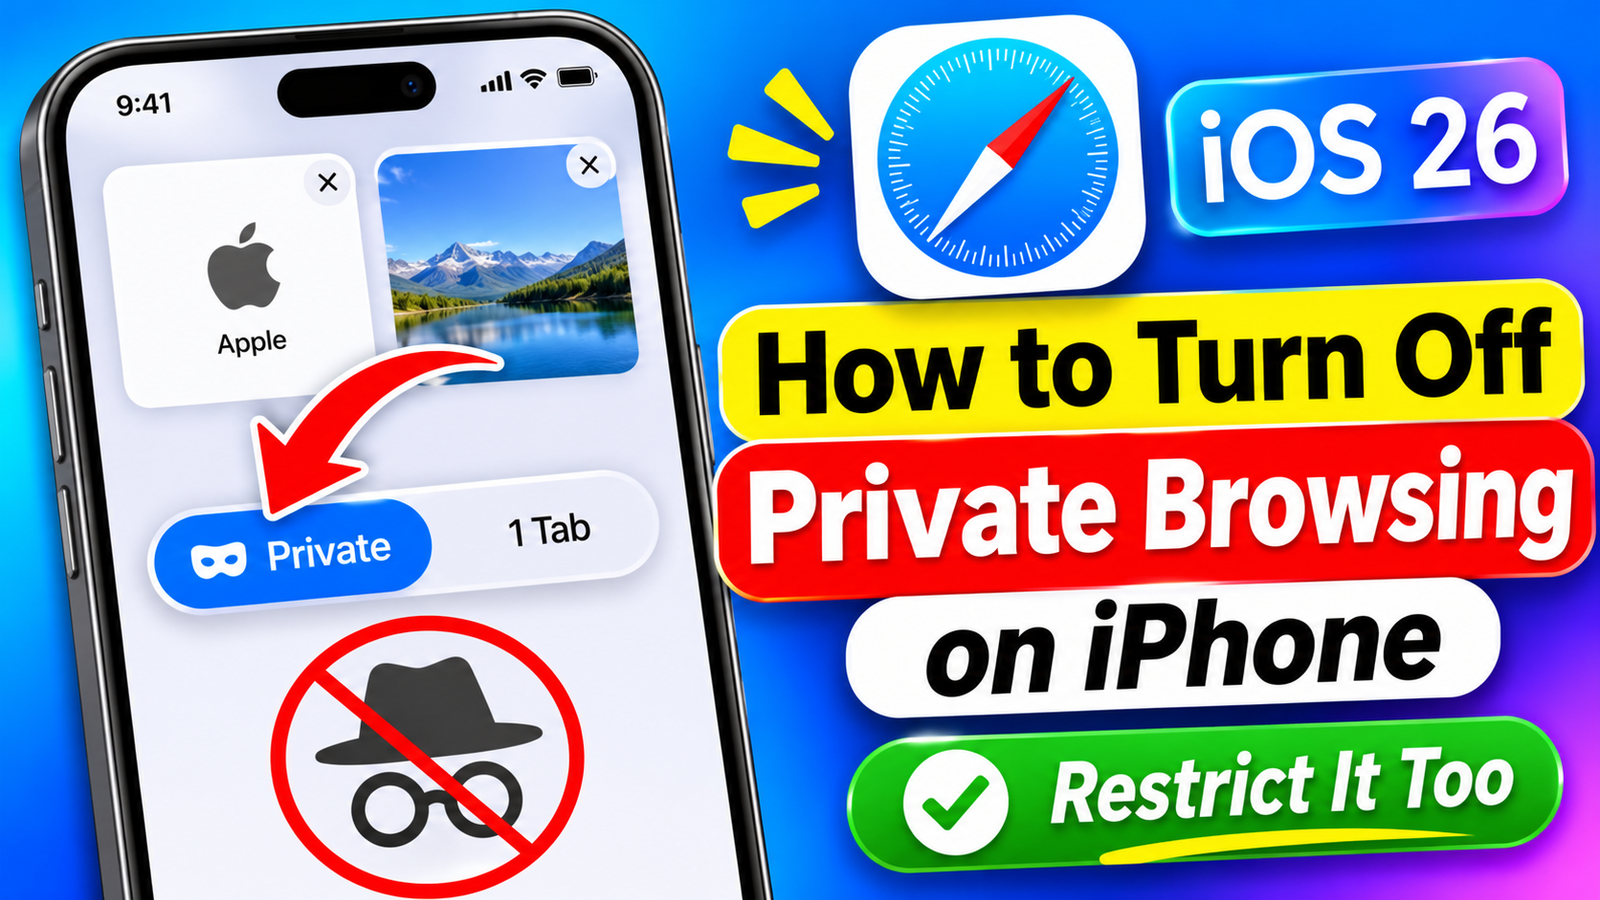
Safari’s Private Browsing feature helps iPhone users browse the internet without saving visited websites in their regular browsing history. However, there are situations when you may want to exit Private Browsing, close private tabs, or restrict access to this feature on a child’s iPhone.
Whether you want to switch back to normal browsing or manage Safari restrictions using Screen Time, iOS provides several useful options.
In this guide, we’ll explain how to turn off Private Browsing on an iPhone, protect private tabs with Face ID, and manage web content restrictions on iOS 26.
Also read: How to Set Mobile Data Usage Warning on Android: Step-by-Step Guide
What Is Private Browsing on iPhone?
Private Browsing is a Safari feature that keeps your private browsing activity separate from your regular browsing sessions.
When this mode is enabled:
- Websites you visit aren’t added to your regular Safari browsing history.
- Private tabs aren’t shared with your other Apple devices.
- Safari extensions that access browsing information are disabled.
- You can use a separate search engine for Private Browsing.
- Private tabs can be protected using Face ID, Touch ID, or your iPhone passcode.
However, Private Browsing doesn’t make you completely anonymous online. Your internet provider, network administrator, and visited websites may still be able to access certain information about your internet activity.
How to Check If Private Browsing Is Enabled
Before turning off Private Browsing, you can check whether Safari is currently using private tabs.
Follow these steps:
- Open Safari on your iPhone.
- Tap the Tabs button.
- Check the tab group options at the bottom.
- If Private is selected, Private Browsing is currently active.
If your regular tab group is selected, you’re already using normal browsing mode.
How to Turn Off Private Browsing on iPhone
Switching from Private Browsing to normal Safari is straightforward. You don’t need to change anything in your iPhone settings.
Here’s what you need to do:
- Open the Safari browser.
- Tap the Tabs button.
- Find the tab group options at the bottom.
- Switch from Private to your regular tab group.
- Select an existing tab or open a new one.
That’s it! Safari will now display your regular browsing tabs instead of Private Browsing.
Important: Switching to normal browsing doesn’t automatically delete your existing private tabs. They can remain available when you return to the Private tab group.
How to Close All Private Tabs on iPhone
If you don’t want your private tabs to remain open, you can close them manually.
- Open Safari.
- Tap the Tabs button.
- Switch to the Private tab group.
- Touch and hold the Done button or Tabs button, depending on your Safari layout.
- Select the option to close all private tabs.
This is helpful when sharing your iPhone with someone else or when you simply want to clear your open private browsing sessions.
How to Enable Private Browsing Again
You can access Private Browsing whenever you need it.
Follow these steps:
- Launch Safari.
- Tap the Tabs button.
- Find the Private tab group.
- Select Private.
- Authenticate using Face ID, Touch ID, or your passcode if requested.
Another option is to touch and hold the Safari icon on your Home Screen and select New Private Tab.
How to Lock Private Browsing With Face ID
If you want to keep your private tabs protected rather than disable the feature, Safari provides an authentication option.
To enable it:
- Open the Settings app.
- Scroll down and tap Apps.
- Select Safari.
- Find Require Face ID to Unlock Private Browsing.
- Turn on the option.
Depending on your iPhone model, you may see Touch ID or passcode authentication instead.
After enabling this feature, Safari will require authentication before allowing access to protected private tabs.
Can You Disable Private Browsing Using Screen Time on iOS 26?
Many iPhone users previously relied on Screen Time’s Limit Adult Websites setting to restrict or remove Private Browsing.
However, this older method should not be considered a guaranteed way to disable Private Browsing completely on iOS 26.
The web content filtering feature can still restrict access to certain websites, but it doesn’t necessarily remove the Private tab option from Safari.
Therefore, it’s important to understand the difference between restricting website access and disabling Private Browsing itself.
How to Enable Web Content Restrictions on iPhone
Although this setting may not completely remove Private Browsing, it can help parents manage access to inappropriate websites.
Here’s how to configure it:
- Open Settings on your iPhone.
- Tap Screen Time.
- Select Content & Privacy Restrictions.
- Enable Content & Privacy Restrictions.
- Open the relevant App Store, Media, Web & Games content settings.
- Select Web Content.
- Choose Limit Adult Websites.
For younger children, you can also select Only Approved Websites, if available.
It’s also recommended to protect Screen Time settings with a passcode that your child doesn’t know.
Manage a Child’s iPhone Using Family Sharing
If your child has an iPhone connected to your Apple Family Sharing group, you can manage several parental control settings from your own Apple device.
Combining Family Sharing with Screen Time can provide better control over how a child uses their iPhone.
Consider configuring these options:
- Screen Time restrictions
- Web Content filtering
- A separate Screen Time passcode
- App installation and purchase restrictions
- Appropriate content restrictions
Available controls may vary depending on the child’s age, Apple Account configuration, and installed iOS version.
Private Browsing vs. Web Content Restrictions
These two Safari features serve different purposes.
Private Browsing: Controls how Safari handles browsing information on your device. It keeps private sessions separate from regular browsing history.
Web Content Restrictions: Helps restrict access to specific websites or categories of online content.
Enabling website restrictions doesn’t necessarily mean that Private Browsing has been disabled.
Understanding this difference can help you choose the right settings for your requirements.
Final Thoughts
Turning off Private Browsing on an iPhone is simple. You just need to open Safari’s tab view and switch from the Private tab group to your regular browsing tabs.
If your main concern is privacy, enabling Face ID, Touch ID, or passcode protection can help secure your private browsing sessions.
For parents managing a child’s iPhone, Screen Time and Family Sharing provide useful tools for restricting website access and managing device usage.
Keep in mind that on iOS 26, the older Limit Adult Websites method shouldn’t be relied upon as a guaranteed way to completely remove Private Browsing from Safari.
By choosing the appropriate settings, you can make Safari more suitable for your personal browsing habits or your family’s needs.